The Cauldon Lowe tramroads were a network of early industrial tramways located in North Staffordshire. Established in the early 18th century, these tramroads were primarily constructed to facilitate the transportation of raw materials such as coal, ironstone, and limestone to local industries.
Typically consisting of narrow-gauge tracks, the tramroads utilised horse-drawn waggons before the advent of steam locomotion. Their routes connected the Cauldon Lowe quarries with the Cauldon canal at Froghall Wharf a distance of approximately 3 miles.
Over time, parts of the tramroad network were integrated into wider railway systems as technology advanced and industrial demands grew.
The fourth tramroad, designed by the local Engineer, James Trubshaw, was the most advanced and meticulously engineered of its kind. It entirely replaced the horse-drawn flat sections of John Rennie’s plateway with a fully self-acting incline .
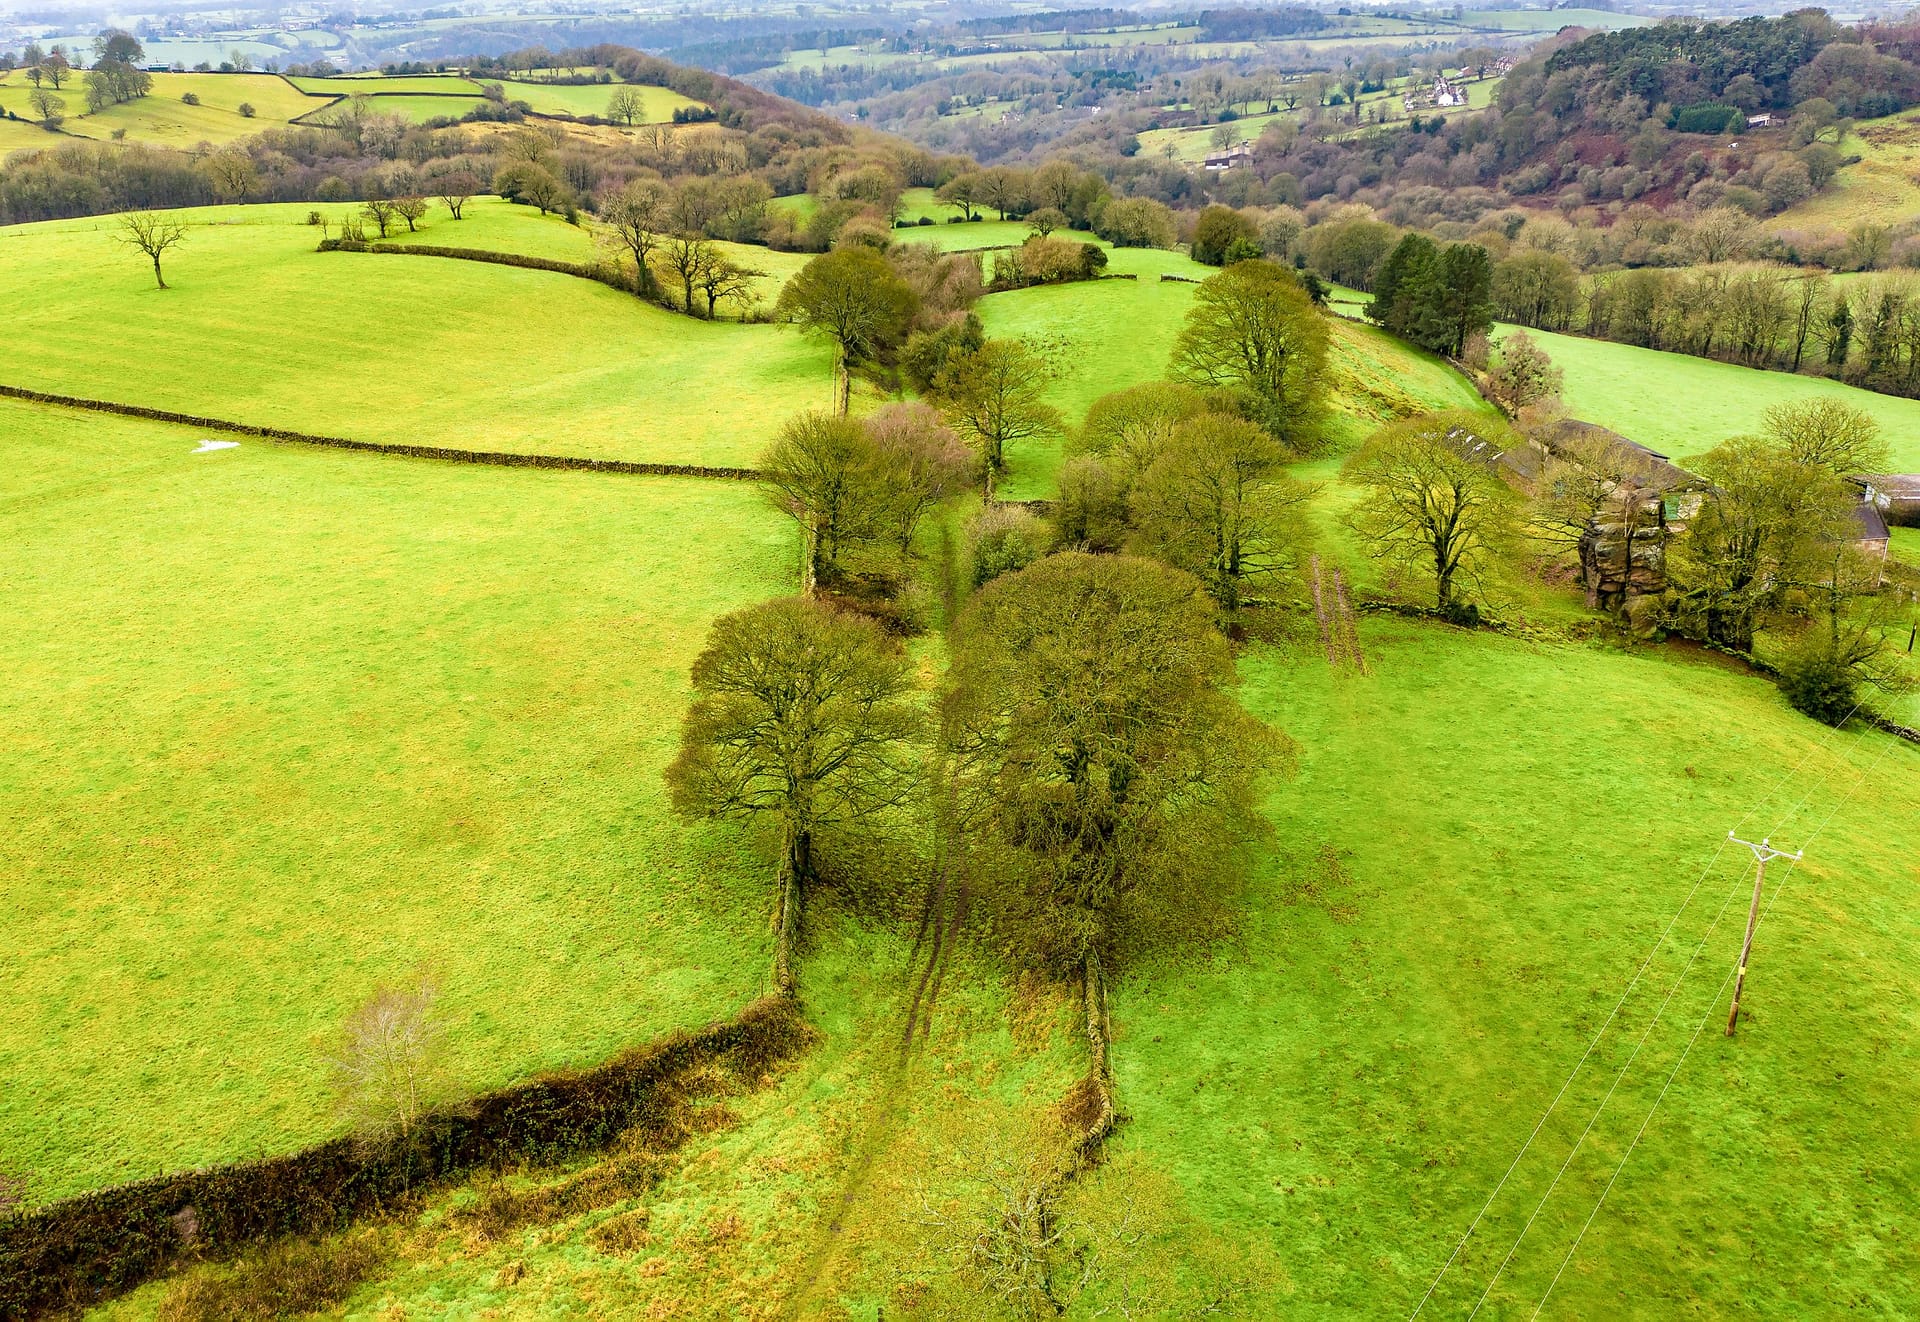
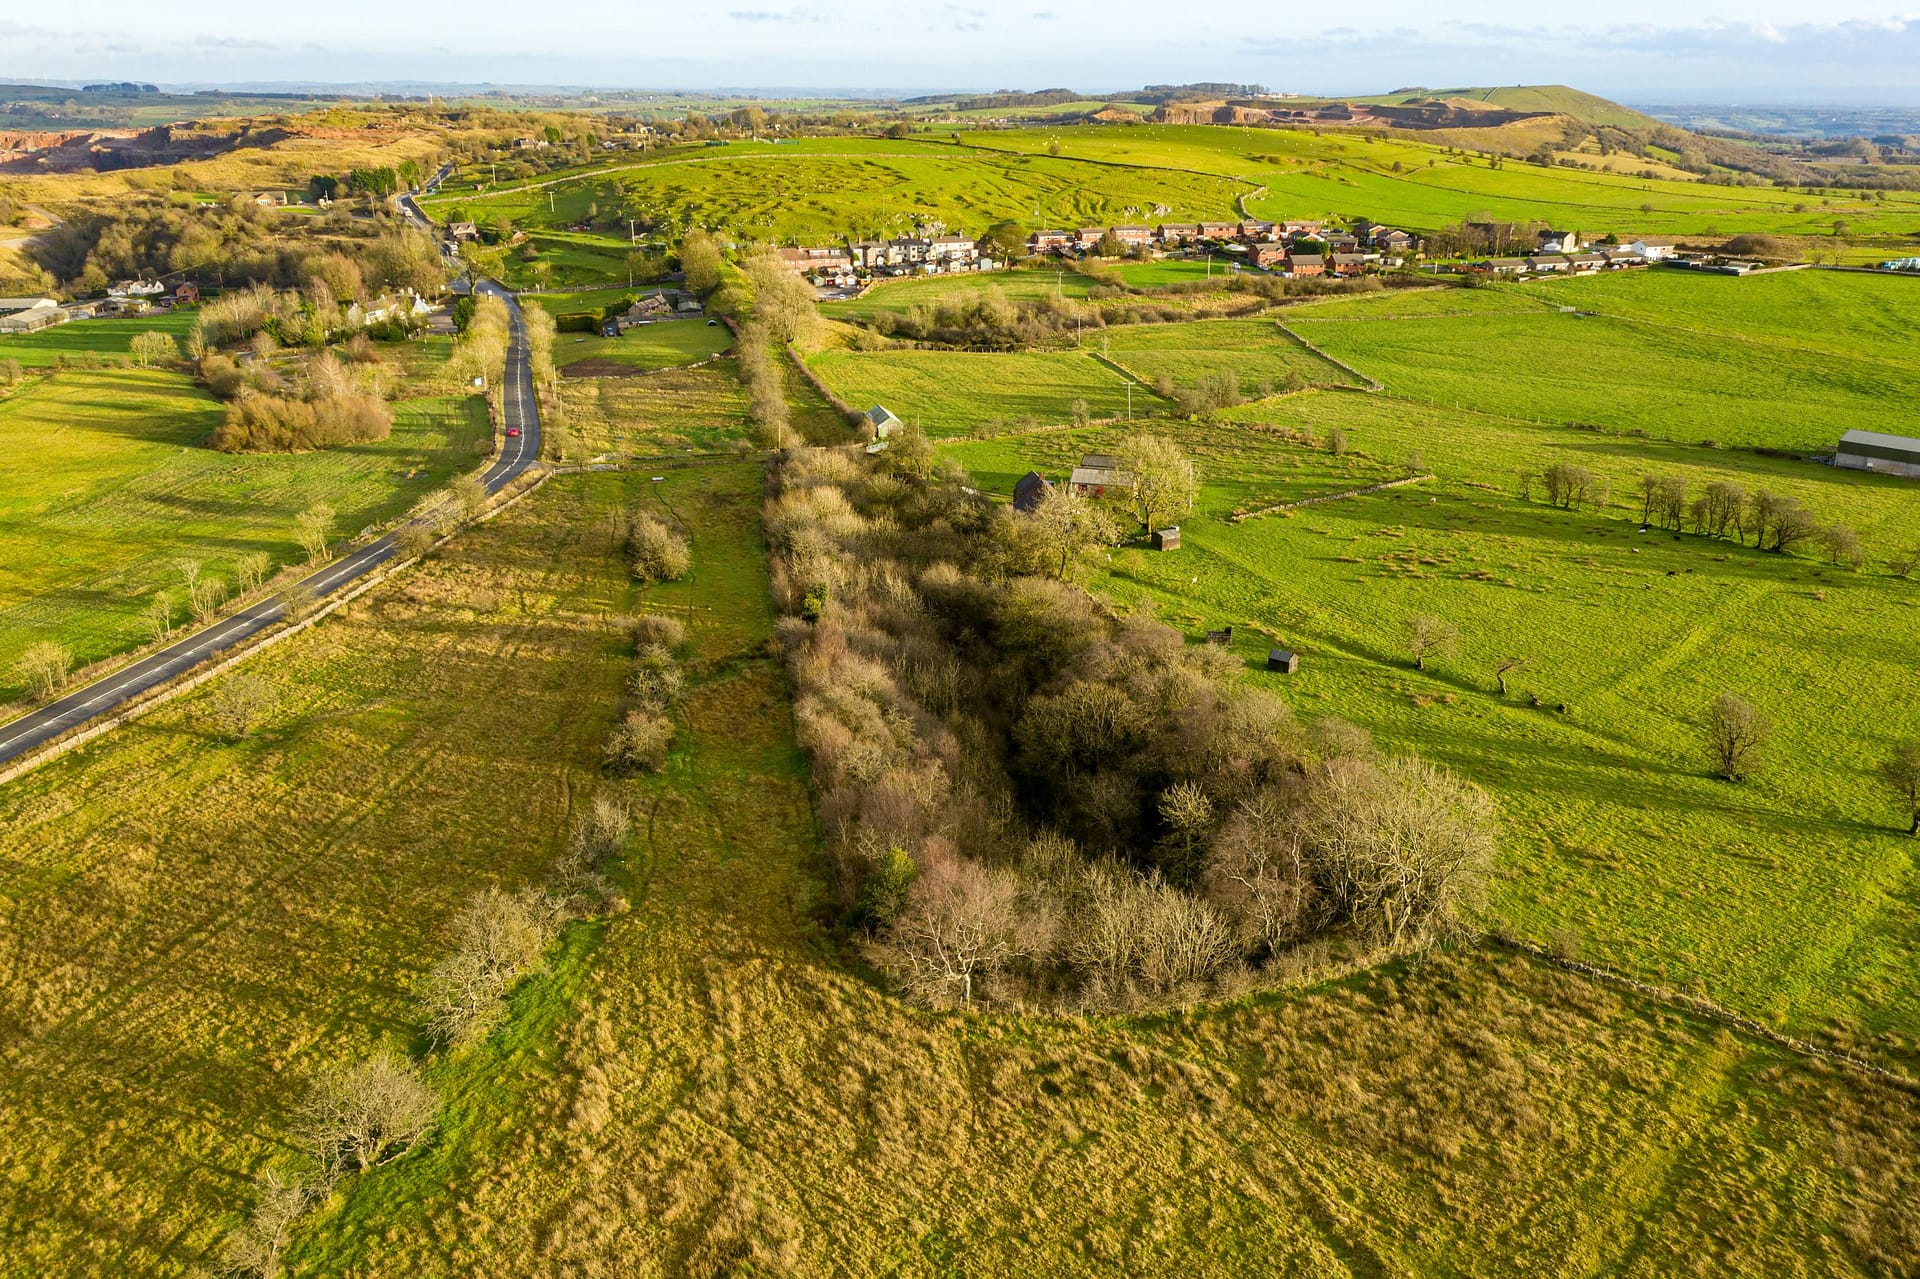
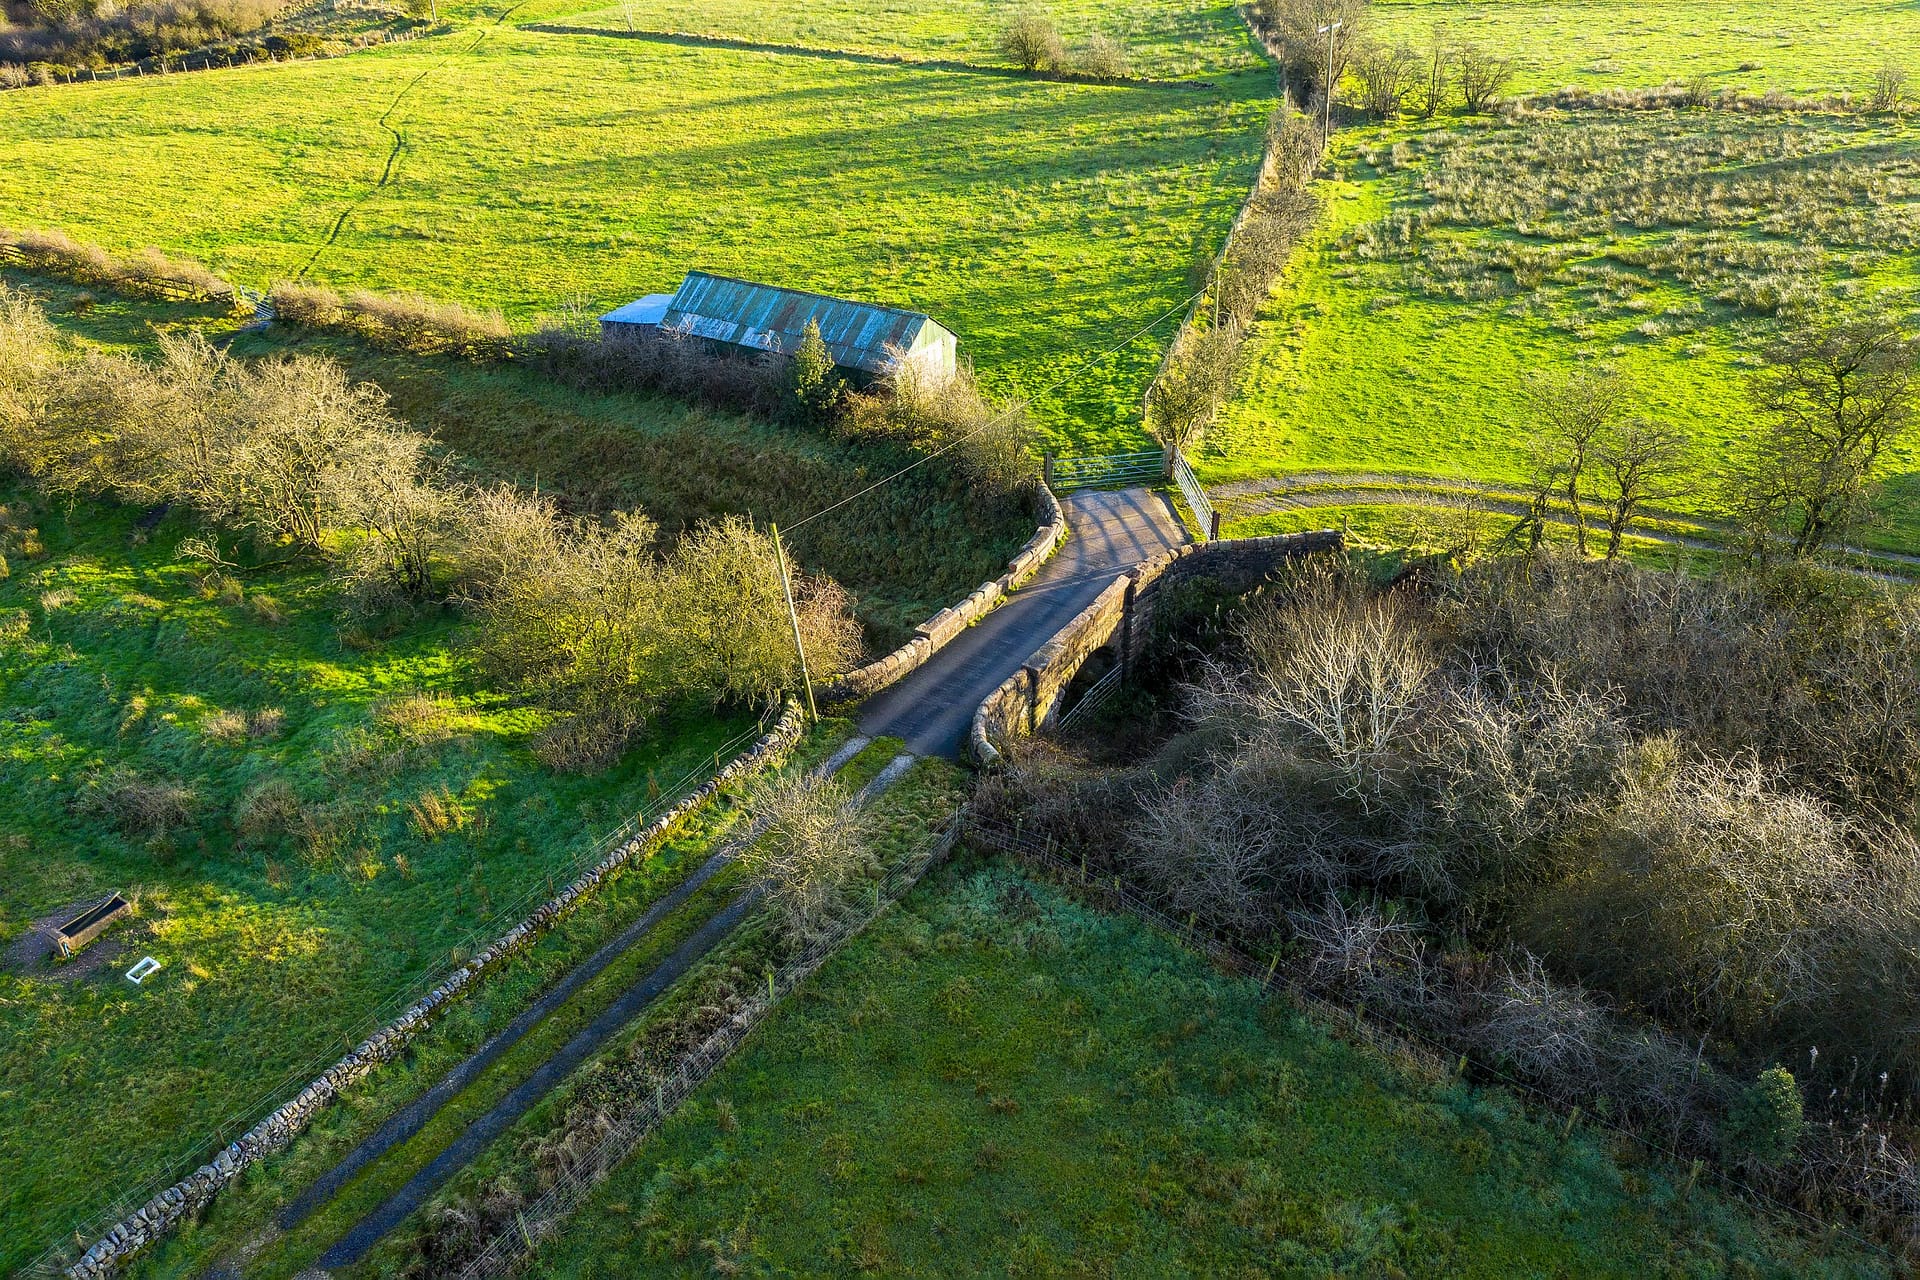
Extensive earthworks, including embankments, deep cuttings, and even a tunnel near the quarries, ensured a consistent gradient and smoother routing through challenging terrain.
This tramroad adopted technology closer to modern railways, utilizing flanged wheels on smooth iron rails instead of the older plateway design. A notable innovation was the three-rail system at the top of each incline: a central rail shared by ascending and descending wagons, with two outer rails for stability. Midway down, the central rail split into a double-track passing loop, allowing wagons traveling in opposite directions to bypass each other. Below the loop, the track narrowed to a single line with an automatically set point controlled by descending wagons.
The incline operated with a continuous cable system supported by rollers and guides. At each incline’s summit, the cables passed through a winding house, wrapping around a large brake drum. As loaded limestone wagons descended, their weight pulled empty or partially loaded wagons upward, significantly reducing reliance on horses for steep sections.
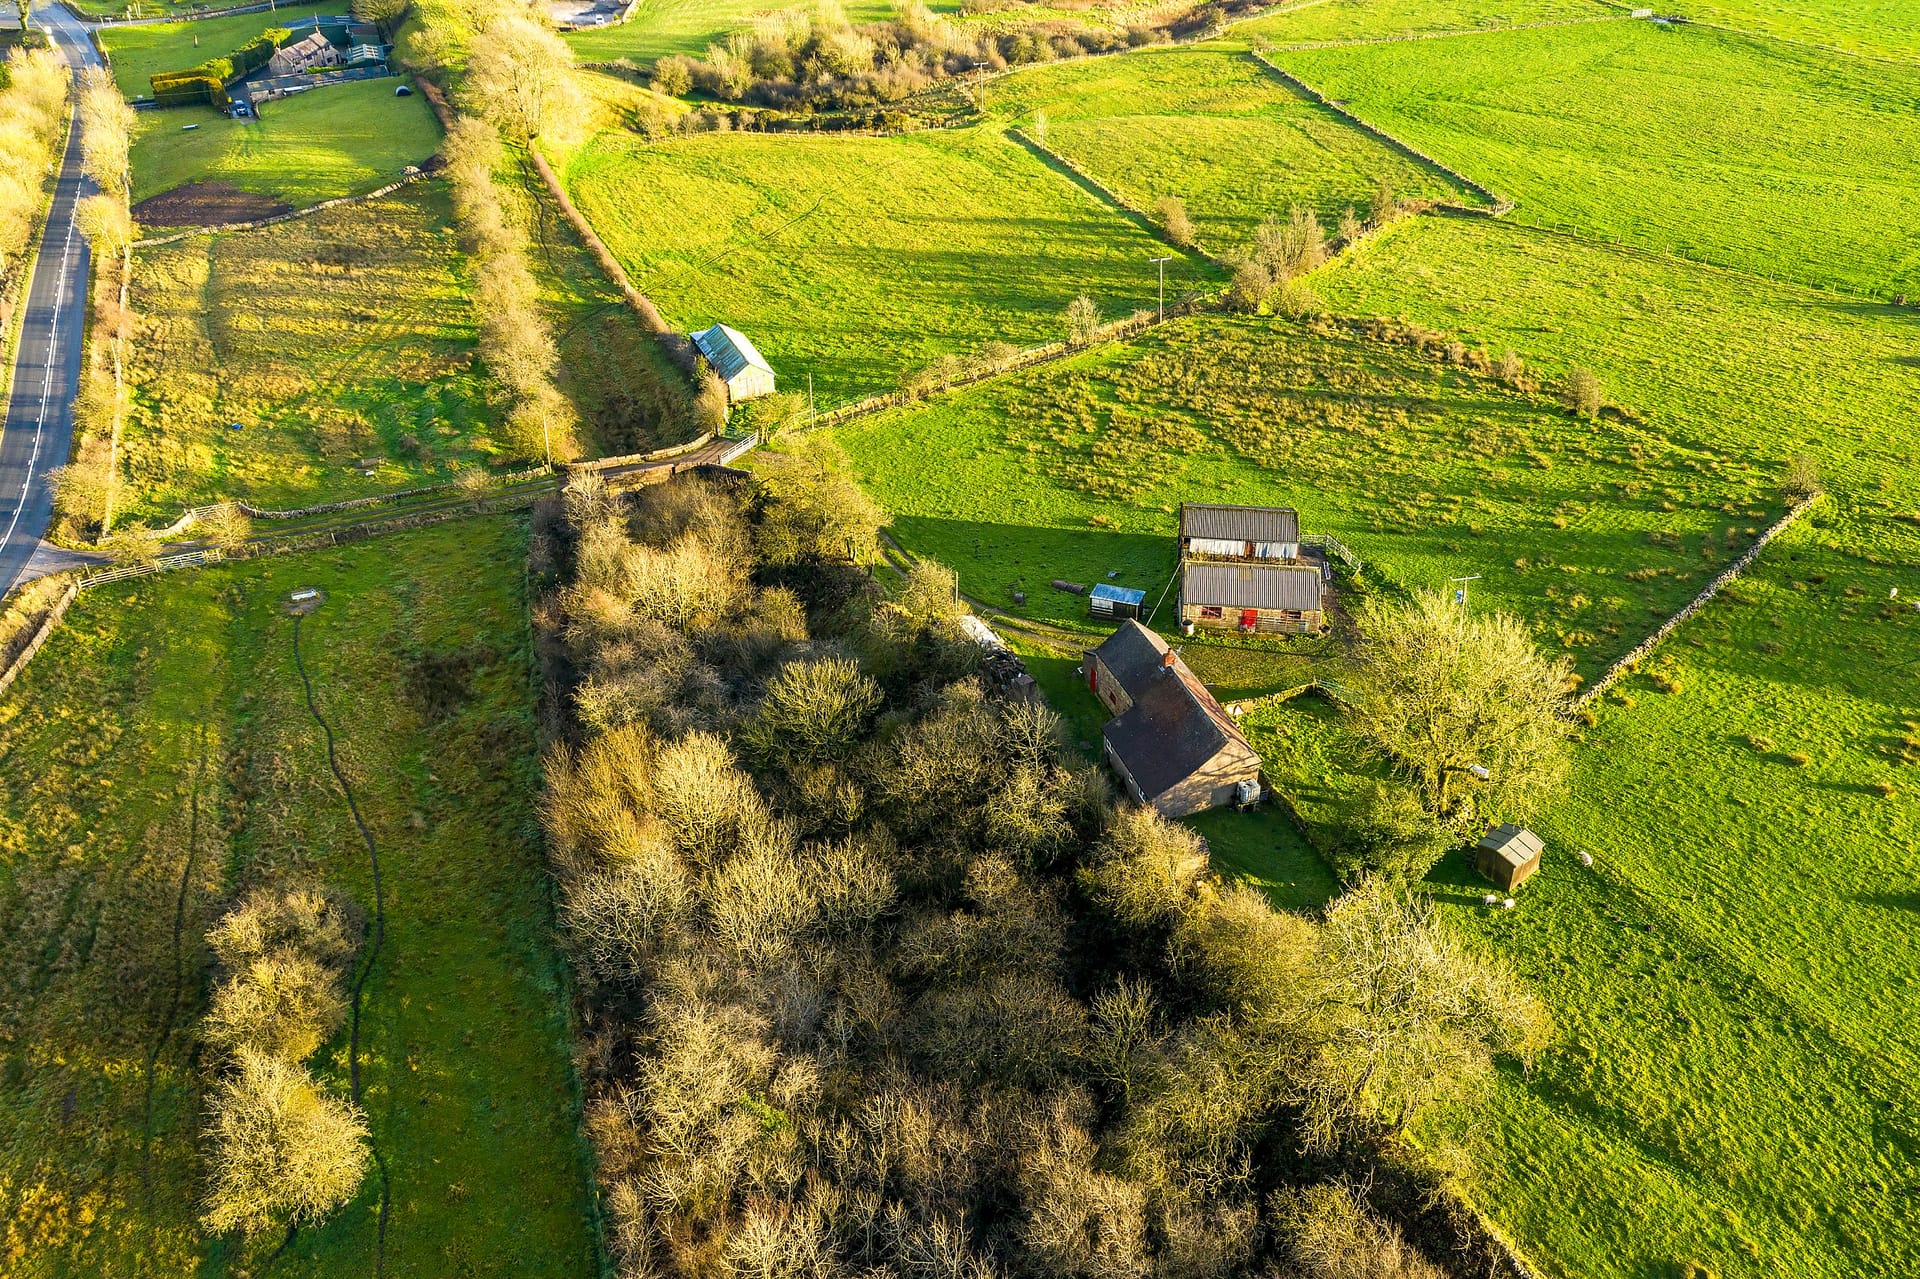
Beyond transporting stone, the tramroad supported local commerce. Ascending wagons carried coal, crucial for industry and households, and even passengers on market days. Goods for a shop at Hoften’s Cross were also delivered via its dedicated siding, showcasing the tramroad’s versatility.
Safety was a priority, with braking systems in place to control wagon movement. Operators managed descent speeds via the winding house drum brakes, while individual wagon brakes provided additional safety.
Trubshaw’s tramroad was an engineering marvel of its time, improving efficiency by eliminating horse-drawn transport and increasing capacity. Yet, like its predecessors, it was eventually outpaced by the locomotive-powered railways of the late 19th century.